So i have neglected my Blog for a few weeks, but i have my reasons, and no not being lazy, if only.
I have been busy with birthday celebrations and i went away for a long weekend to Spain, but normality is resumed this late on a Sunday night and i have today completed the bunting that i started as my project a few weeks ago and mentioned in a previous post.
So as a novice and with a new sewing machine for my birthday i thought what could i try to make that wouldn't take too long and would have good visual effect and that nobody would have to look too closely to see my mistakes...............bunting!
I first sourced in a charity shop a few weeks ago some lovely chair back and arm covers for 80p, and when looking at them noticed that if i put a triangle template on them i could keep the embroidered pattern and use as the main focus for the bunting and still giving a vintage feel.
 |
| Charity Shop Finds |
 |
| Bunting Template - Large |
I then downloaded a bunting template from www.housetohome.co.uk which had 2 different sizes on the template, i chose the larger flag as this allowed for the floral pattern, but i have since cut smaller bunting in a striped fabric. and then pinned onto the chair cover. As i had 7 covers i cut all 7 and then as they were too thin for bunting i then cut another 7 for backs and then another 4 in plain to make up 2 extra, 1 for each end to make the bunting longer. I used pinking shears that i had bought at Hobbycraft. Of course your bunting can be any length and any assortment of materials, but i wanted to keep the theme of the vintage chair backs. Once i had all the triangles i then pinned all of the backs to each one.
Next it was time to get sewing with my new Brother LS14 sewing machine. I must admit i did have a few problems
with this machine and the bobbin kept sewing loose stitches so a few swear words were thrown into the equation,
but after a bit of practice and finally sorting out the bobbin i was well away and sewing the triangles in a matching
green thread as a contrast against the white material and picking out the green from the flower stems.
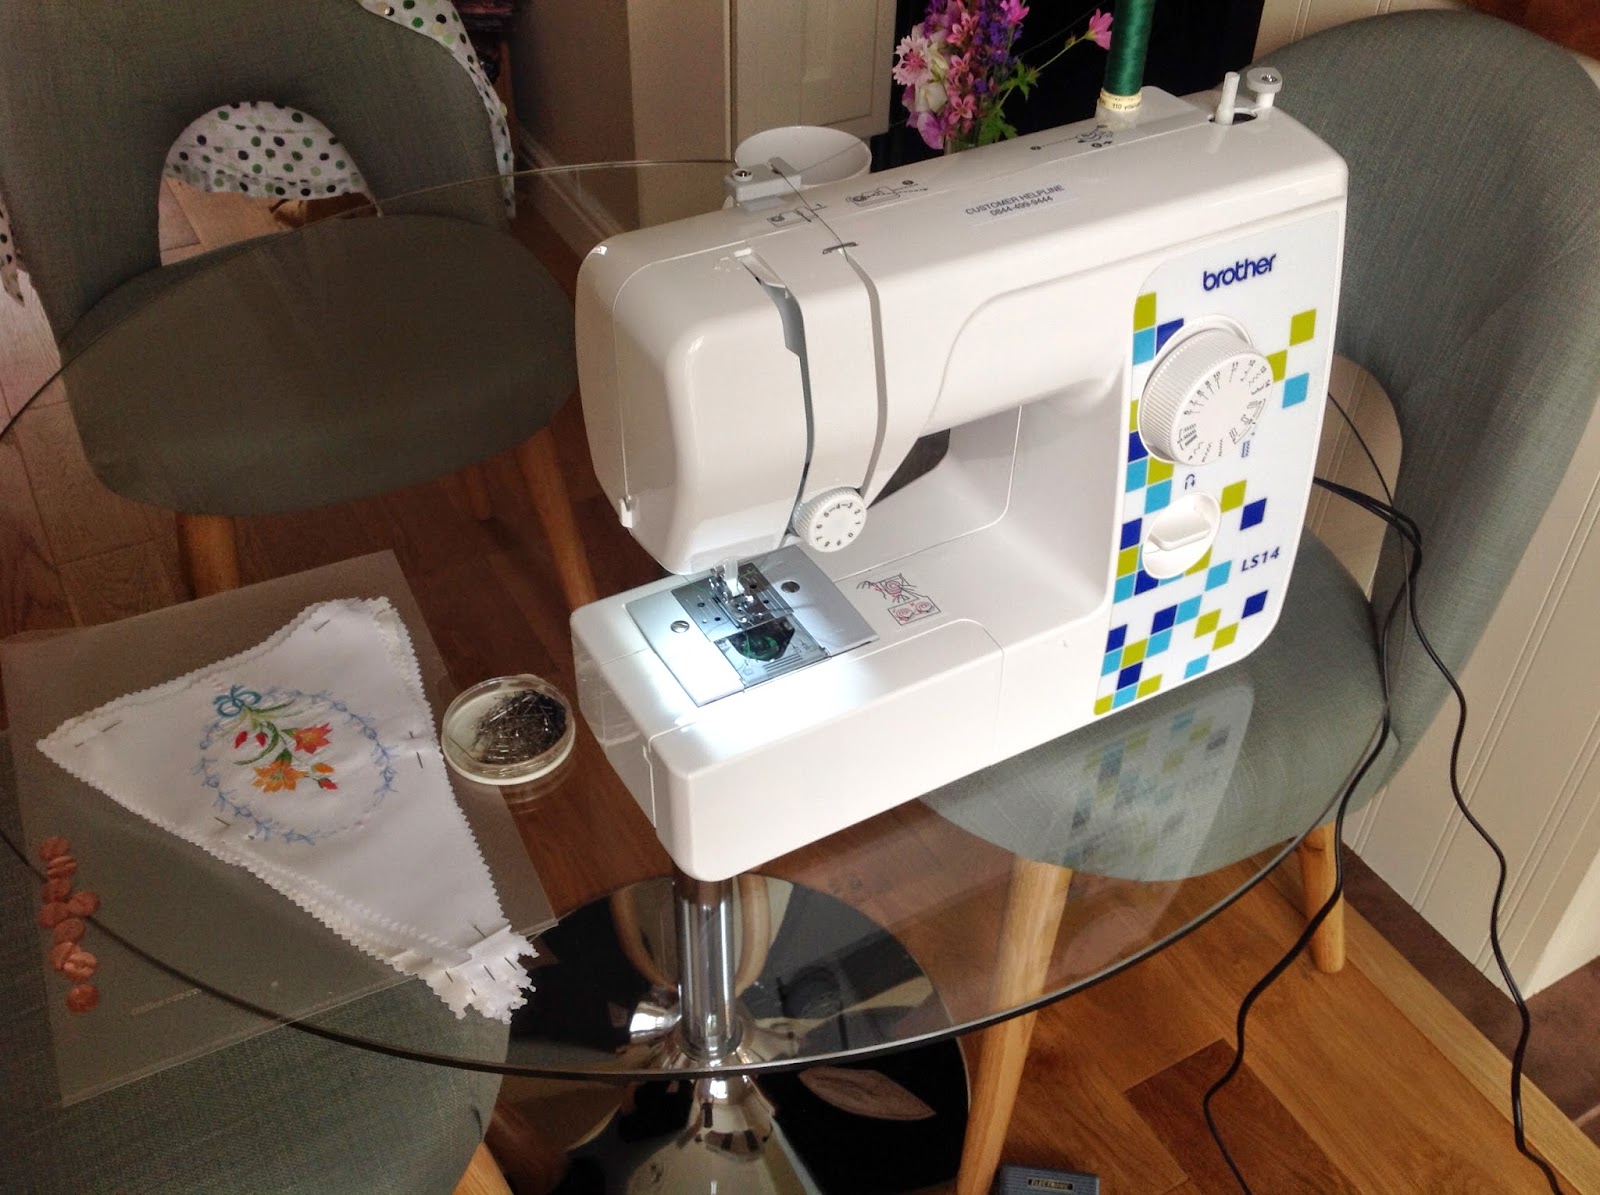 |
| Brother LS14 Sewing Machine |
I was going to use ribbon that i had bought previously from Aint Too Shabby who you will find on Facebook and
Instagram, but it was 2.5m long and not long enough for the amount of flags i had made, so i went to my local
haberdashers in Coulsdon - www.artandcraftvalley.com and bought 4m of 13mm bias binding. This is a tip i will
remember for future use and i will probably keep the bias binding in my stock as it was easy to use and comes in
longer lengths than a reel of ribbon and isn't too expensive.
I then ironed the bias binding in half and placed each flag 4" apart, pinning as i went but you can do them closer, its
up to you, but they must be evenly placed, i also left 40cm at each end for tying to trees etc, but again you can
extend on this. Once i got going with the sewing machine and remembering to take out the pins before they went
under the foot of the machine i was well away and the bunting was completed, not to perfection, but not bad for a
first attempt.
 |
| Triangles ready to Go |
 |
| Pot - Waitrose Pinned, ready to Sew |
 |
| The Finished Product |
No comments:
Post a Comment